

The Card at a Glance
Sensei’s Divining Top
Mana Cost: {1}
Type:Artifact
Text: {1}: Look at the top three cards of your library, then put them back in any order.
Tap: Draw a card, then put Sensei’s Divining Top on top of its owner’s library.
Overview
In the right deck, Sensei’s Divining Top can turn your draw step from something random into something you can actually control. For a {1} mana artifact, it fixes weak draw sequences, helps you plan ahead, and give you more control over your turns. Sensei’s Divining Top is one of the cards that get stronger the more you understand your deck.
Rather than going through the card text, it’s more useful for us to look at how it actually performs at the table, and why experienced players keep coming back to it.
Jump to:
- Sensei’s Divining Top + Fetch Land
- Sensei’s Divining Top + Approach of the Second Sun
- Sensei’s Divining Top + Counterbalance
- Sensei’s Divining Top + Bolas’s Citadel + Aetherflux Reservoir
- When should I exclude it from my deck?
Interaction 1: Sensei’s Divining Top + Fetch Land
In turn 5, your opponent control Faerie Mastermind, you need stop him from drawing more card before they keep snowballing with extra cards. You already control Sensei’s Divining Top and Flooded Strand waiting to crack.
You active Sense’s Divining Top at your opponent end step and look at 3 cards from your top library, you see: Land, Land, Dead card. This is a very bad draw sequence, especially when you are looking for an answer.
Your sequence:
- Crack Flooded Strand.
- Fetch Watery Grave, and pay 2 life so it enters untapped.
- Shuffle your library.
- Activate Sensei’s Divining Top again.
- You see Fatal Push among the top three cards.
- Reorder them with Fatal Push on top of your library.
- Tap Sensei Divining Top and draw Fatal Push.
- Cast Fatal Push to remove Faerie Mastermind.
This is why this interaction is so strong, even it doesn’t guarantee the perfect answer, but it give you a way to throw away a bad draw sequence and look for a new one. Sometime that is all you need.
Note: We already crack Flooded Strand before cast Fatal Push, so revolt is enabled at the moment you cast Fatal Push.
Of course, the outcome is not guaranty, you resetting a bad probability, and try to chase for the answer.
Interaction 2: Sensei’s Divining Top + Approach of the Second Sun
You cast Approach of the Second Sun, it resolved and put it back on seventh from the top from your library. That means you still need to work through six more cards before you can cast it again and win.
Let’s see how we can utilize Sensei’s Divining Top in this scenario.
Your sequence:
- Cast Deliberate at opponent end turn. (or any similar spell that can let you move through the top of your library, such as Mental Note)
- You scry 2 and put both card at the bottom of library, and draw 1 card. This already help us clears away three cards from the top.
- Your turn and draw for the turn, which remove one more card.
- Active Sensei’s Divining Top, you see Approach of the Second Sun sitting as the third card from top.
- Reorder by putting the Approach of the Second Sun on top of library
- Tap Sensei Divining Top to draw Approach of the Second Sun and win the game.
This work if your deck run several scry and surveil cards, such as Aminatou, Veil Piercer.
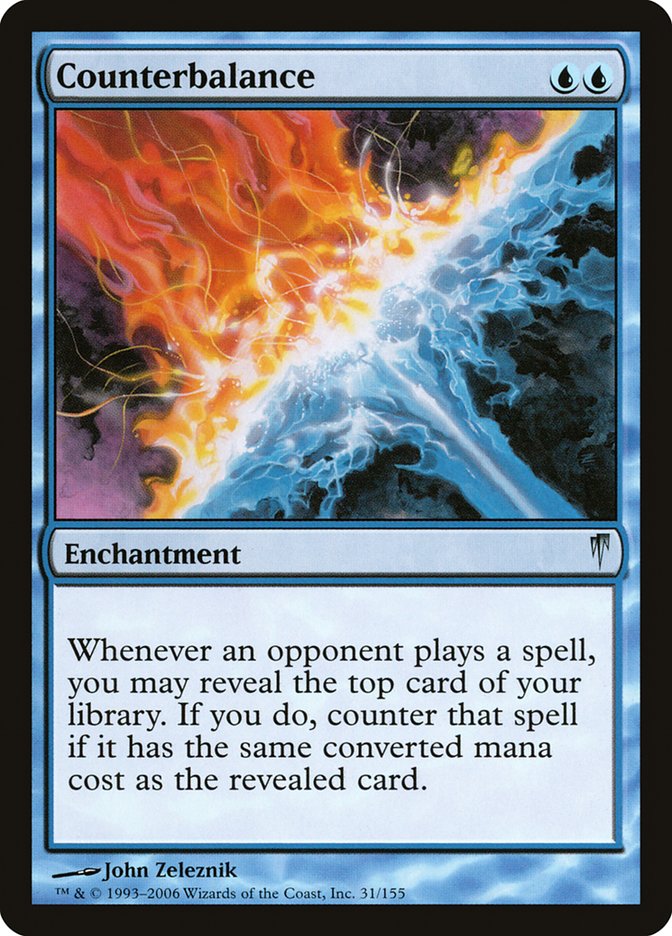
Interaction 3: Sensei’s Divining Top + Counterbalance
You control both Sensei’s Divining Top and Counterbalance
Your sequence:
- Opponent cast Sheoldred, the Apocalypse.
- On the stack and you active Sensei’s Divining Top and saw Smothering Tithe.
- Reorder by putting Smothering Tithe on top of library.
- Reveal your top of library using Counterbalance to counter Sheoldred, the Apocalypse.
Still can’t find the right card to counter? You can use card with shuffle ability and try again. This is also the main reason why always we don’t crack the fetch land until opponent end turn. Play passively and react according to what your opponent play. This is one of the strongest control interactions in EDH.
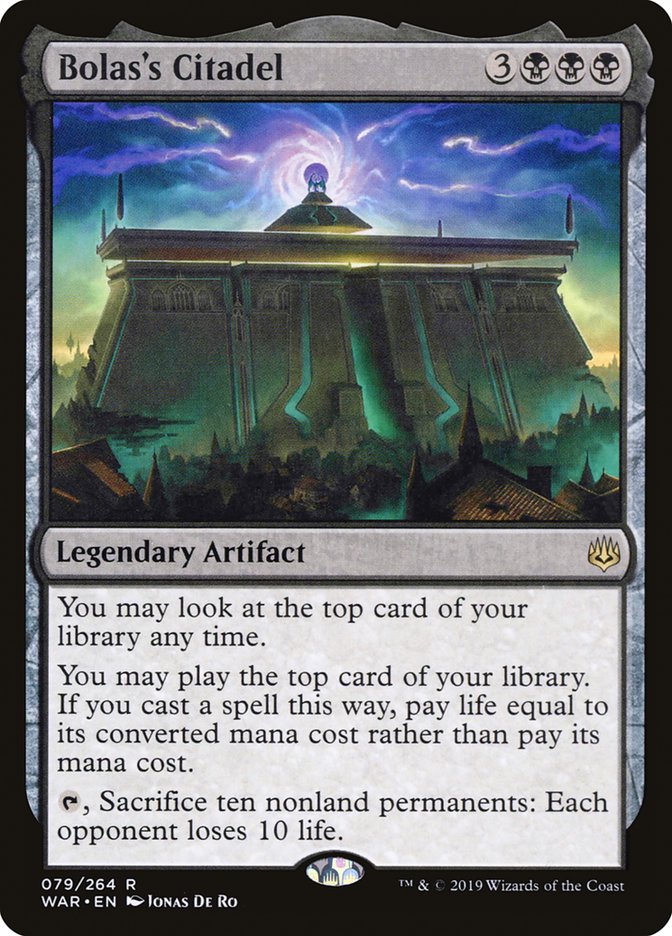
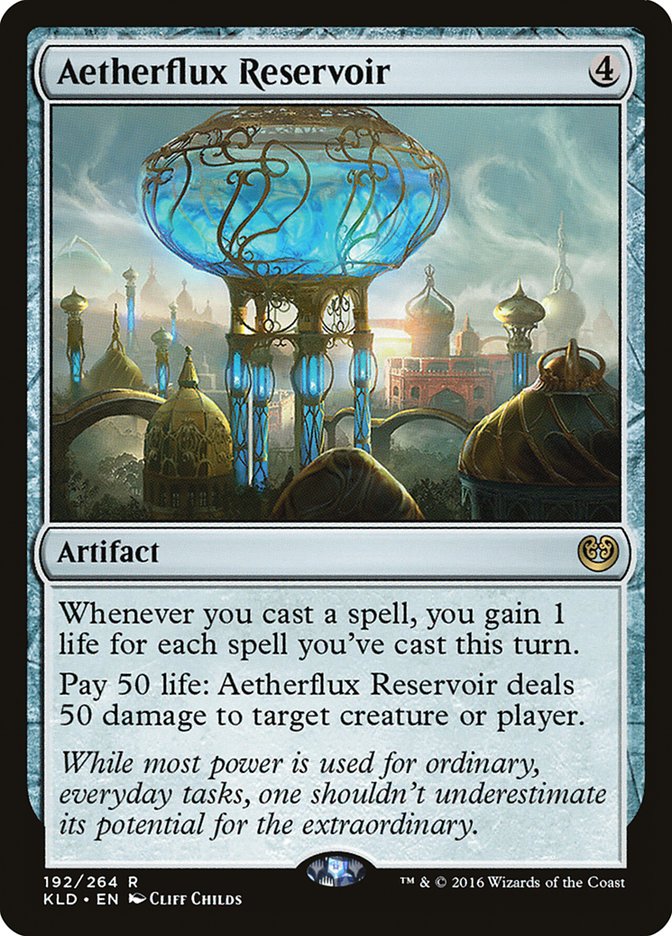
Interaction 4: Sensei’s Divining Top + Bolas’s Citadel + Aetherflux Reservoir
Your Sequence:
- You control Sensei’s Divining Top, Bolas’s Citadel and Aetherflux Reservoir
- Tap Sensei’s Divining Top, draw a card, and put Sensei’s Divining Top on top of your library.
- Cast Top from top of library using Bolas’s Citadel by paying life.
- You gain life from Aetherflux Reservoir.
- Repeat from #2.
- Eventually you will get enough life to kill everyone using Aetherflux Reservoir second ability.
You can perform above sequence without Sensei’s Divining Top, but your sequence will stop once you hit the second land drop.
When should I exclude it from my deck?
Sensei’s Divining Top is a strong card, however, it’s not auto-include in every deck. A lot of players see the reputation and assume it must always be correct to include it, but in reality, Sensei’s Divining Top only shines when the deck is actually built to take advantages of what it offers.
Sensei’s Divining Top is not suitable in the deck when:
- Your deck runs very few shuffle effects or very less fetch lands, and tutors.
- Your deck is aggressive. Aggressive decks care more about using every mana efficiently to develop pressure and threats. Spend mana just to check and rearrange the top of your library is not advancing the board in a meaningful way. That is too slow for what the deck is trying to do.
In paper, spending {1} mana to improve draw quality sounds harmless, but in real game, that mana adds up especially when you activate it multiple times and no gain real card advantage. Sensei’s Divining Top is a strong card, but strong card does not always mean correct. In the wrong deck, it’s just another slow artifact that looks better on paper than it feels in actual games, and it is often a card you want to cut.
The answer was always there.
– draw9;